Telephone contact
You can reach us by telephone at any time.

Once you have booked Microsoft Exchange Online, you will receive an email from us containing all the information you provided during registration. You can use these login details to log in at the following URL and make full use of all the features: Portalhttps://www.office.com.
After you have successfully logged in, you will be redirected to the Microsoft 365 or Office 365 overview page.
Tip: Connect Exchange Online to your mobile devices! This way, emails, calendars and contacts are also available on employees' mobile devices, such as iPhones or Android devices. By integrating Exchange Online on your smartphone, for example via Outlook or another email client, you can be reached by your employees anytime, anywhere – installation is very easy!
Now start configuring your account in the Microsoft 365 settings. Click on the cogwheel next to your name in the top right-hand corner of the header and then click on 'Update contact settings' in the menu that opens. Here you can see the account information associated with your profile and update it.

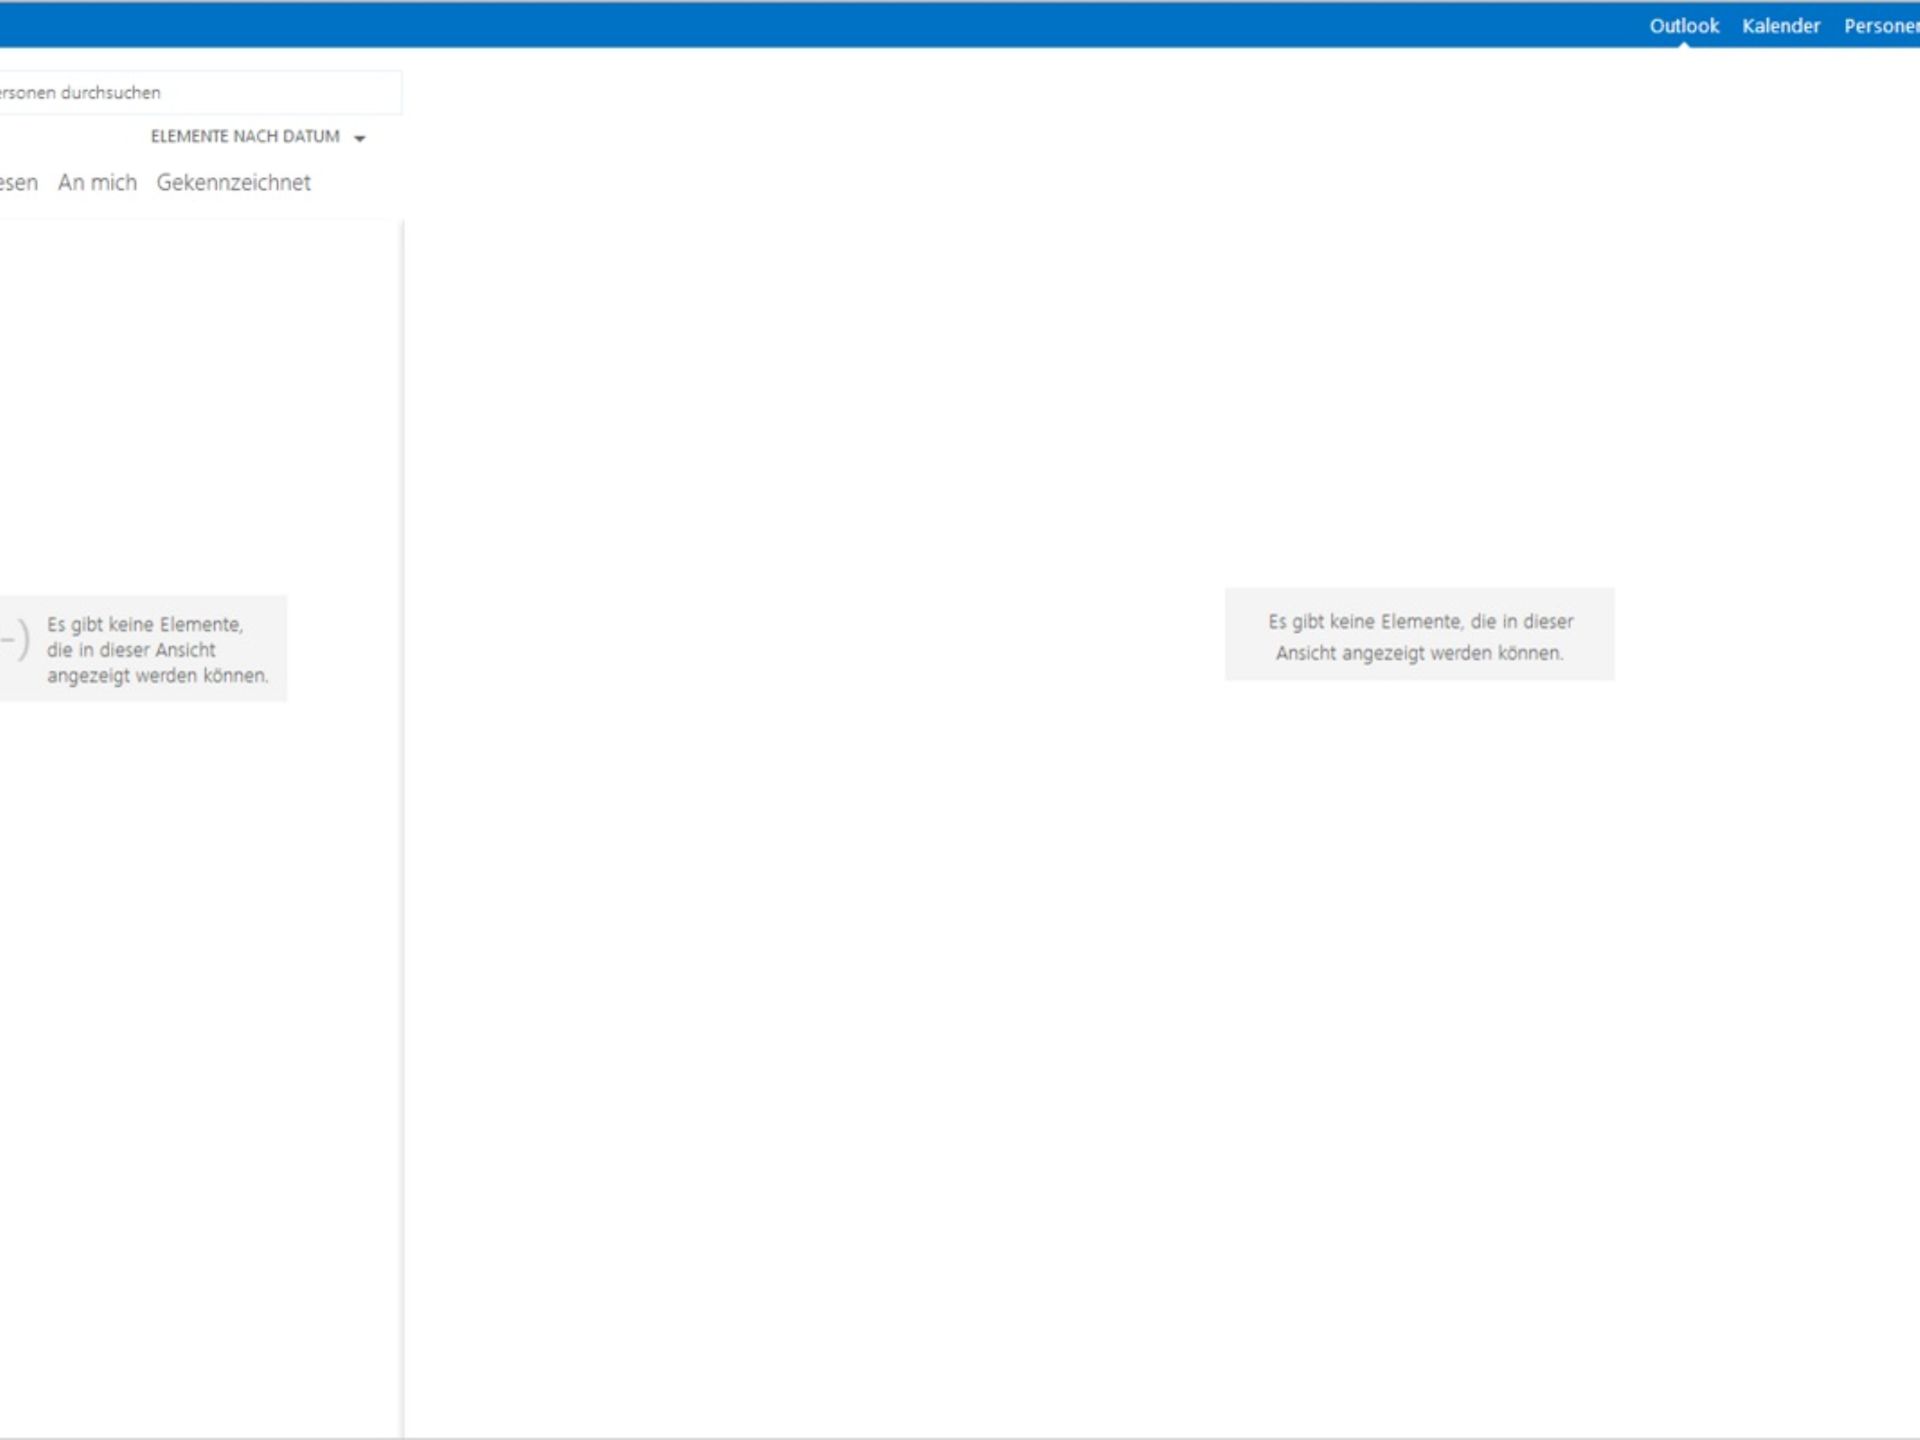
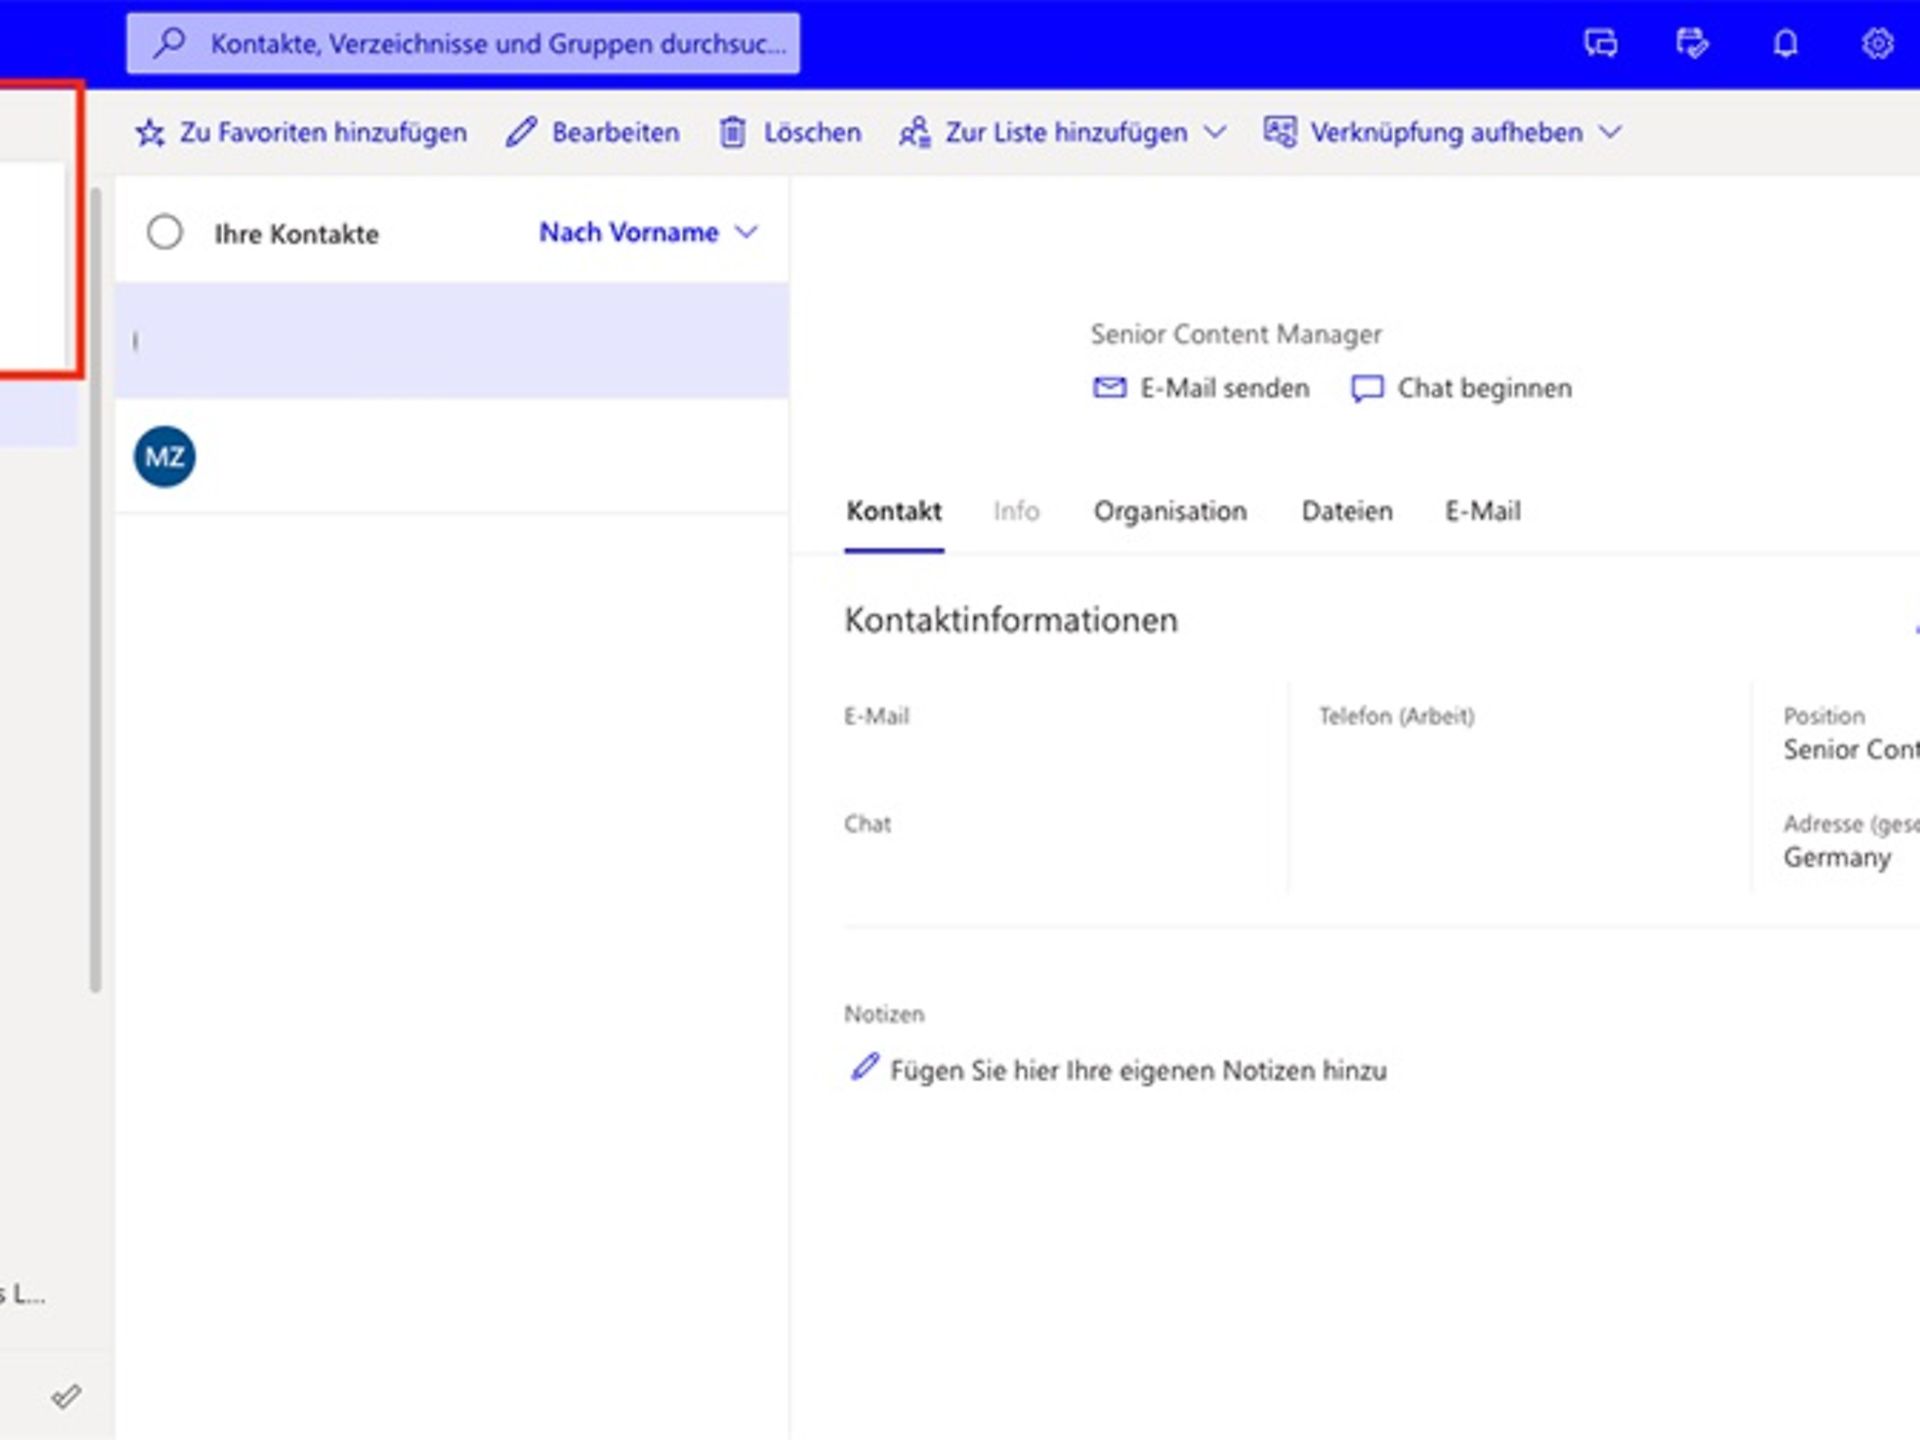
First, open Outlook via the Microsoft 365 app menu on the left side of the browser window, then open the "Contacts" menu at the bottom by clicking on the "People" icon to the right of the "Calendar" icon. You can create a new contact in Microsoft Outlook in just a few steps. You will now be redirected to the overview page of your contact list. By clicking on 'New', you can create one or more contacts for your contact list.
Now decide whether you want to create a contact or a group. Groups offer the advantage of allowing you to easily send an email to multiple recipients at the same time. For example, you can also send an appointment invitation to a group.
Tip: Start by creating or importing all your contacts first, as you can only add existing contacts to a group.
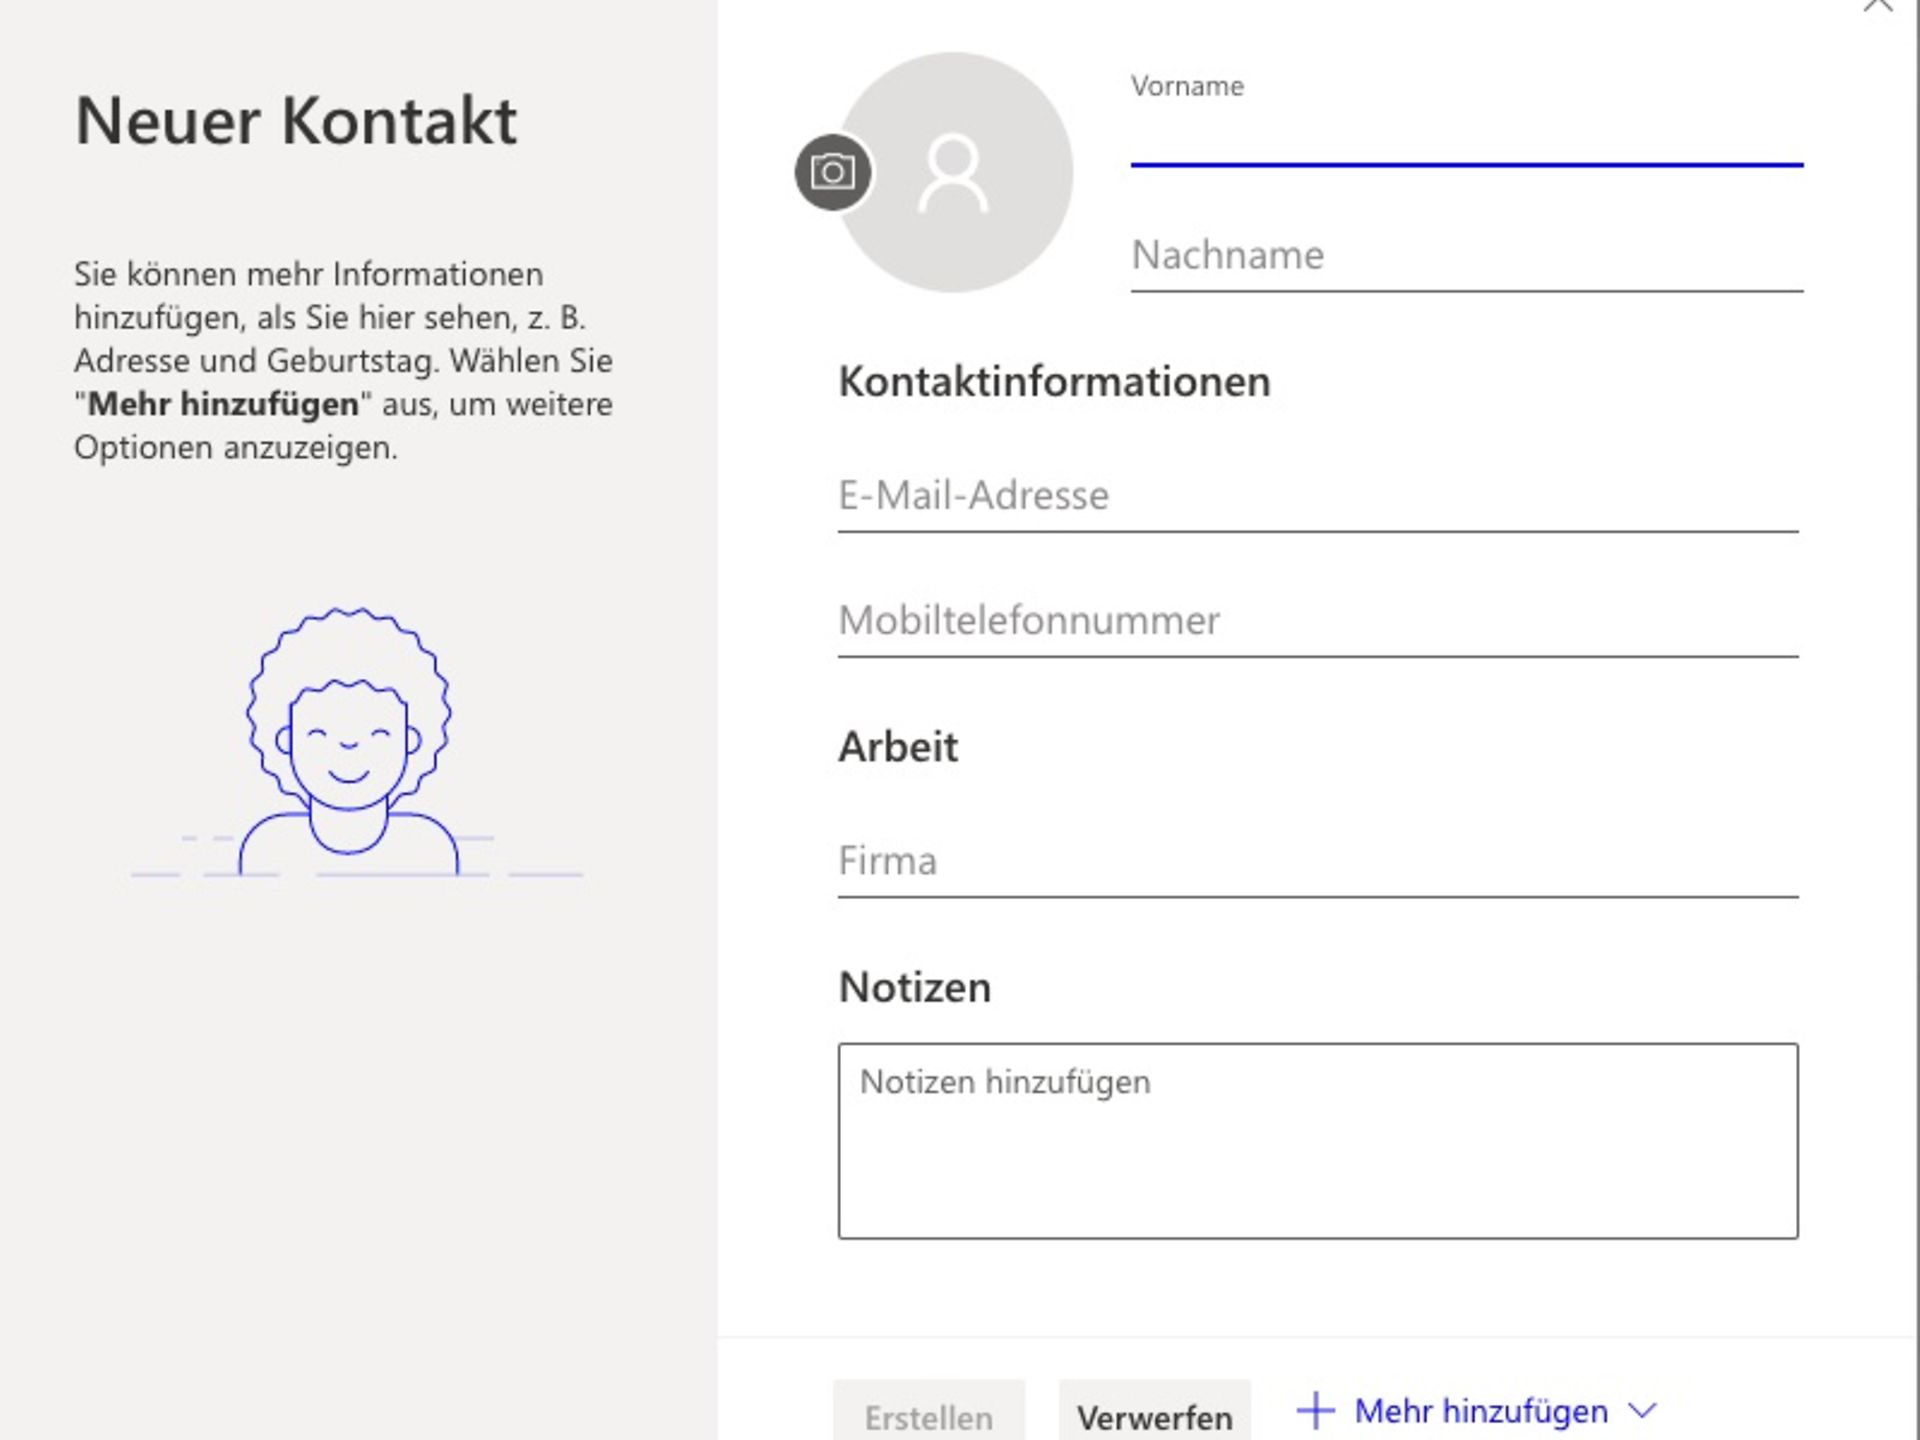
Now create a contact: Fill in the following fields to add all contact information. Clicking on the plus sign opens up additional input options, which you can add if necessary. Finally, click on "Create" to create the contact.
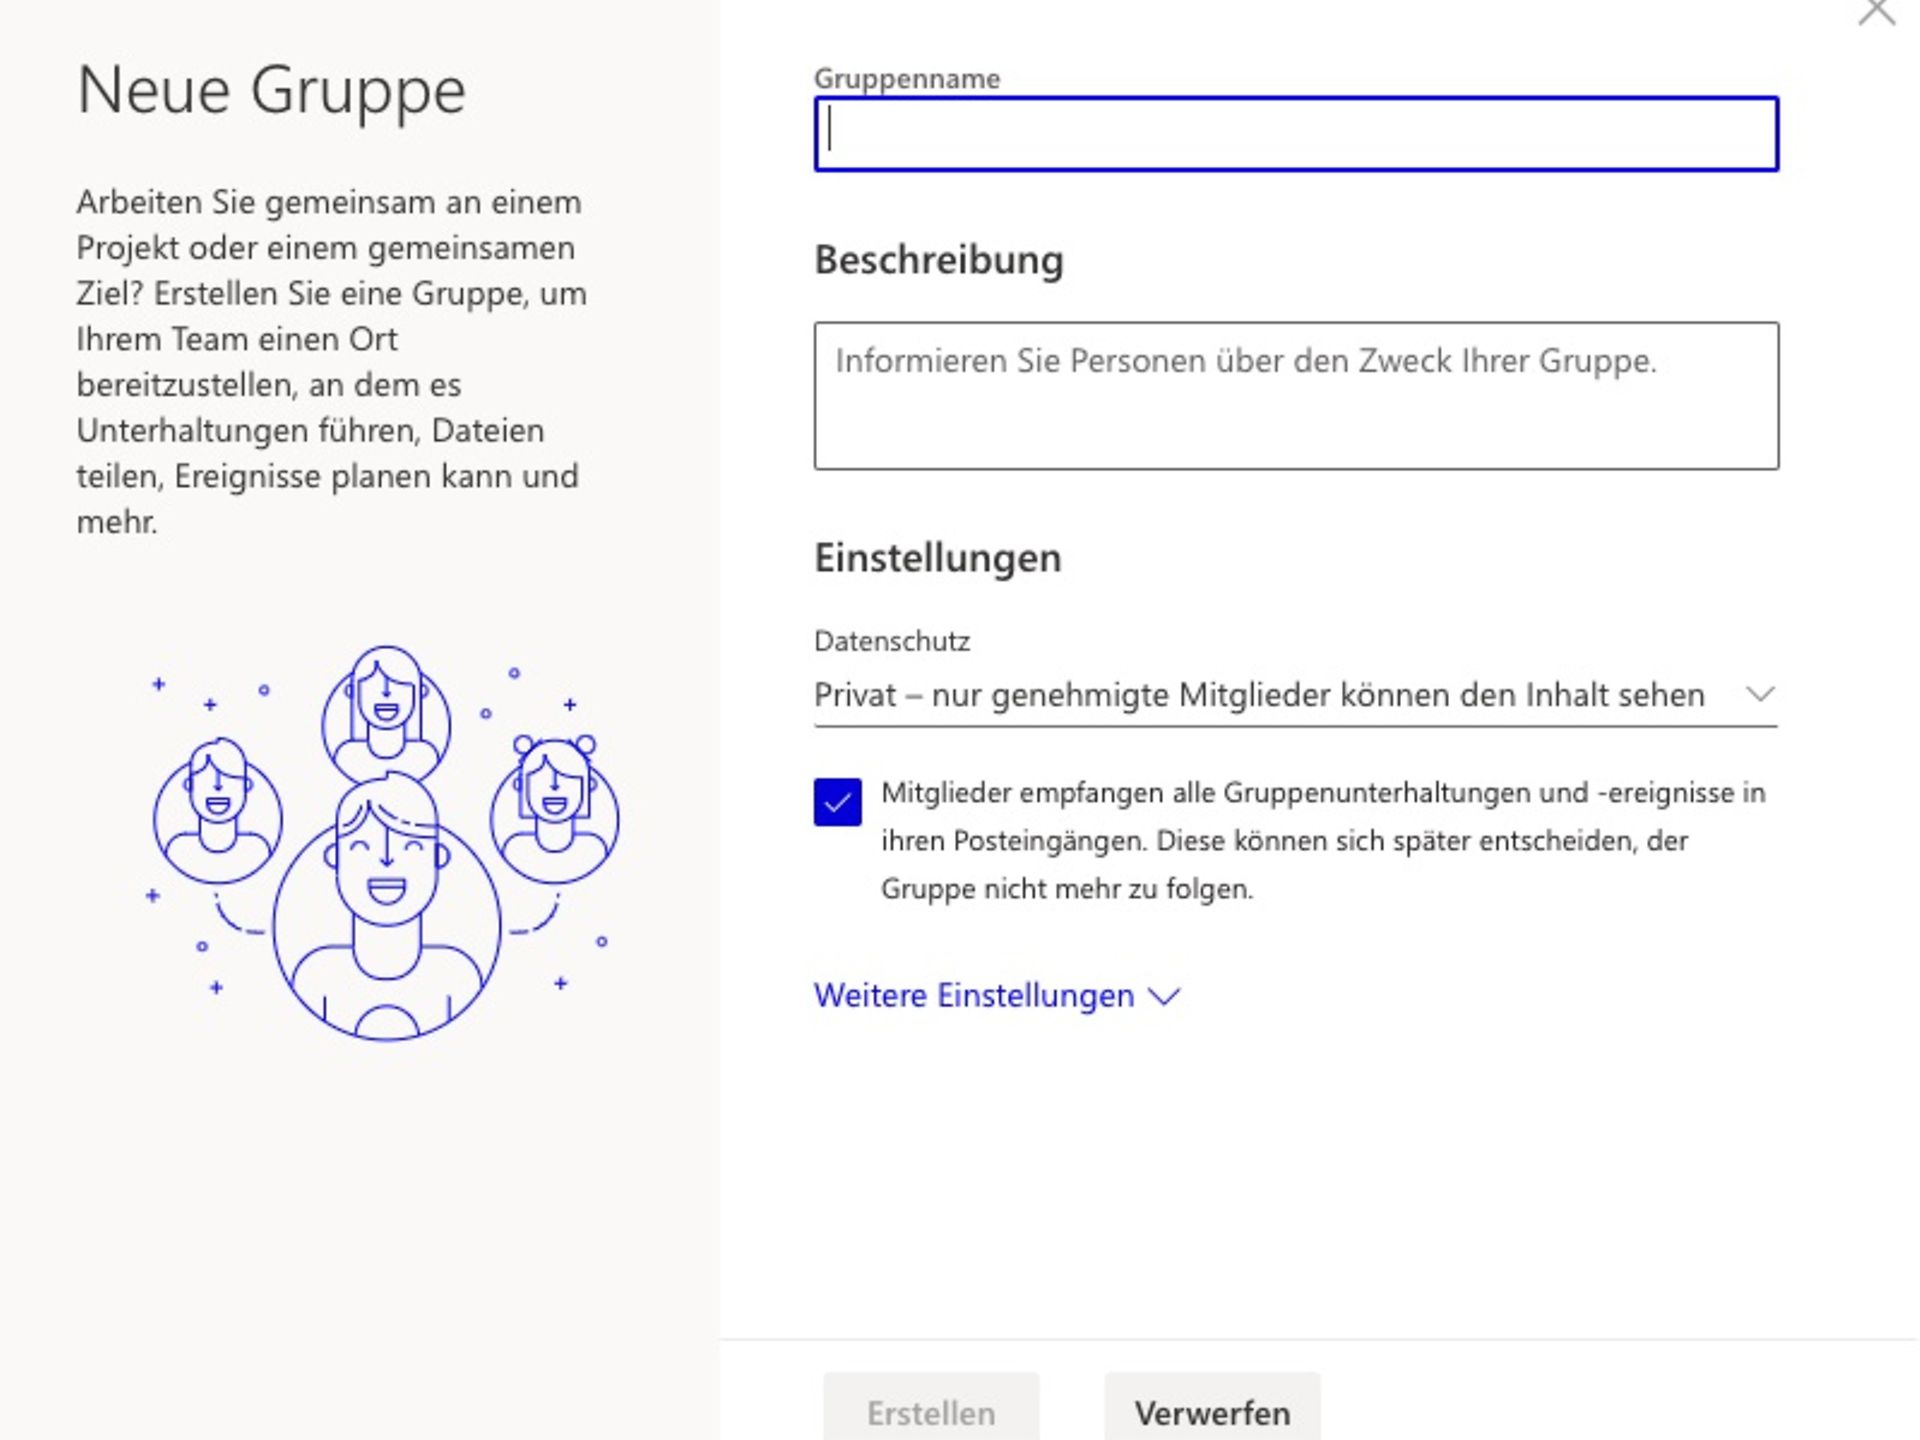
The steps for creating a group are almost identical. Instead of "Create contact", simply select "Create group". Now you can enter the group name, for example "Sales", and add your members or employees to this group. First enter the name of the desired contact, then click on "Search contacts and directory" to add the member.
Tip: Make sure you select the correct contact if there are identical names. The difference is clear from the members' email addresses.
Click on the "Calendar" icon in the bar at the bottom left. Then click on "New Event" in the top left corner. Alternatively, you can double-click on any day to select it and create your desired calendar entries there.
Tip: Grant your colleagues access to your calendar. The 'Share' menu item in the top right-hand corner allows your colleagues to access your calendar quickly and easily. You decide who should be granted access to the calendar.
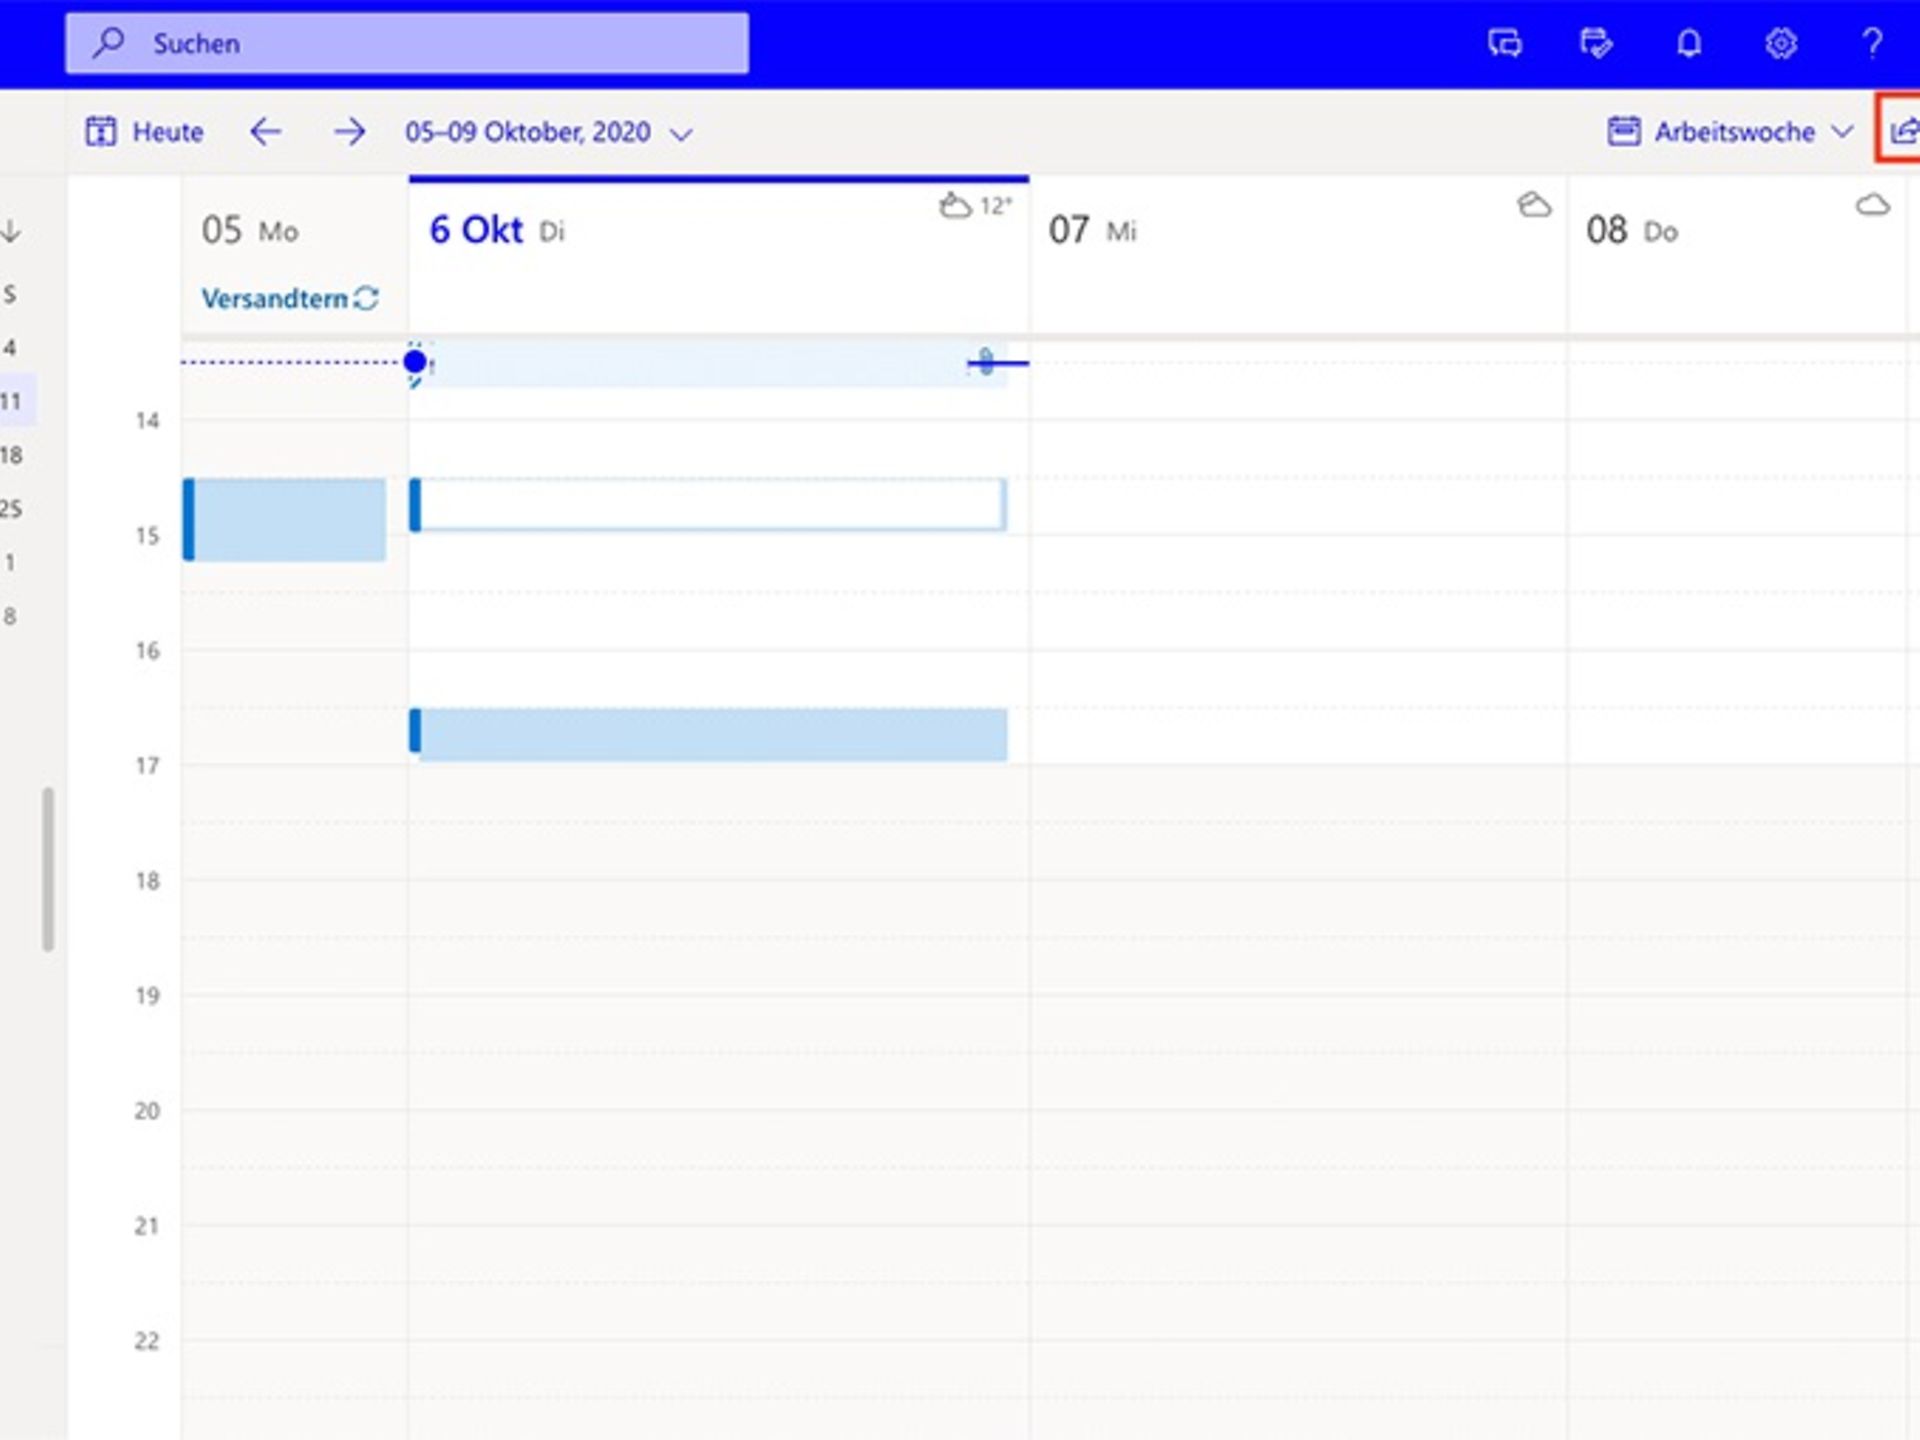
You now have the option to name the event and invite participants to your appointment. For example, specify the day, duration or room for your appointment. You can also add notes. Complete this process by clicking 'Save' in the top left-hand corner.
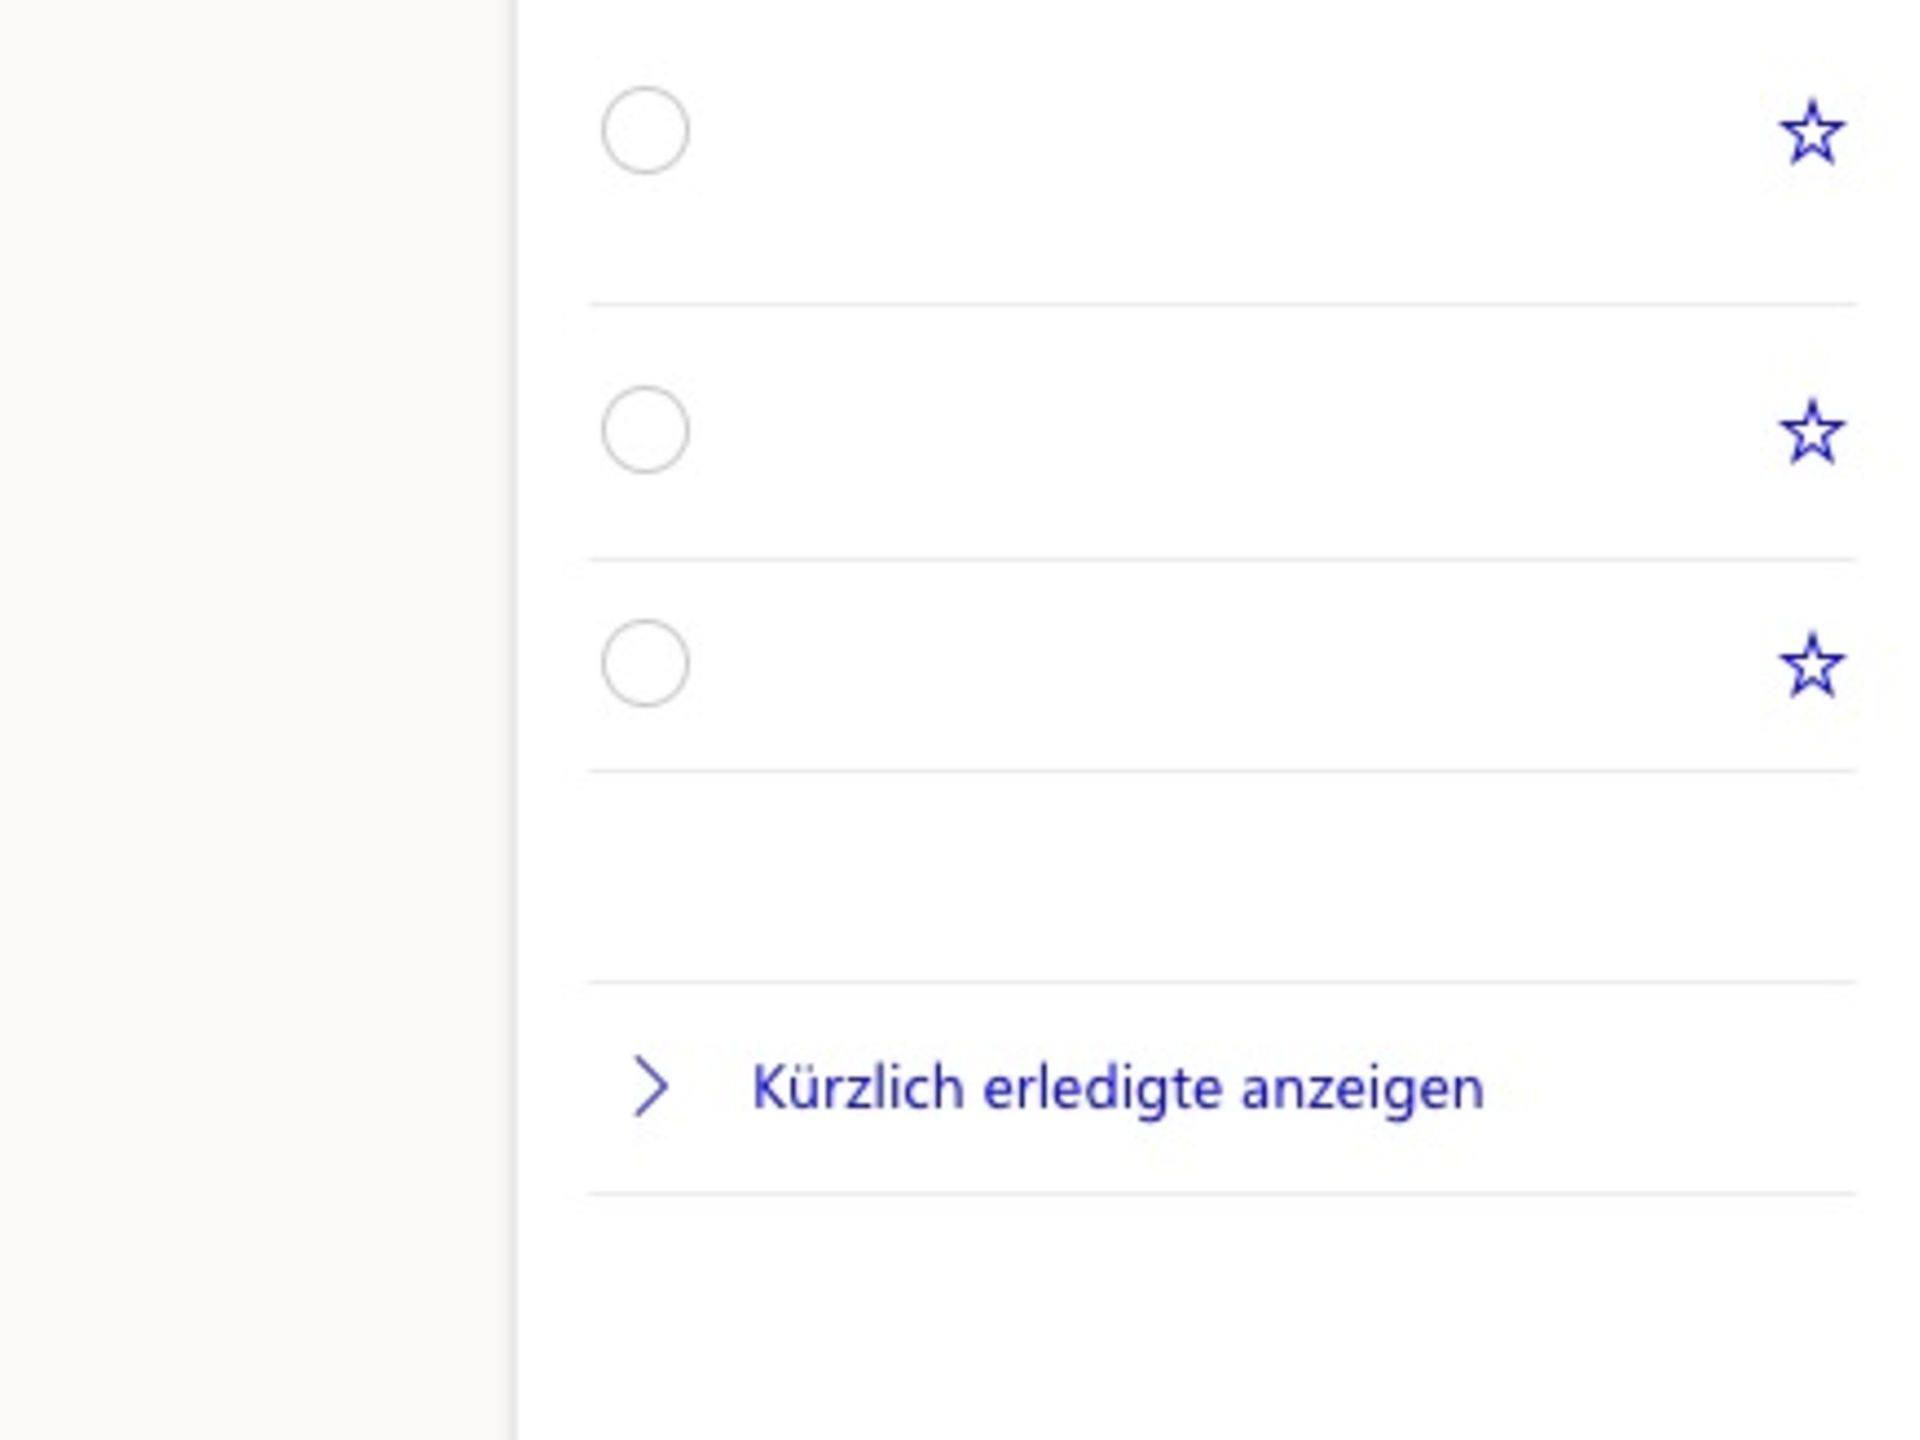
If you want to create a task, click on 'My Day' in the top right-hand corner of the menu bar and then on 'To Do'. Once the task overview page has opened, click on 'Add Task' on the left-hand side and add a new task to your to-do list.
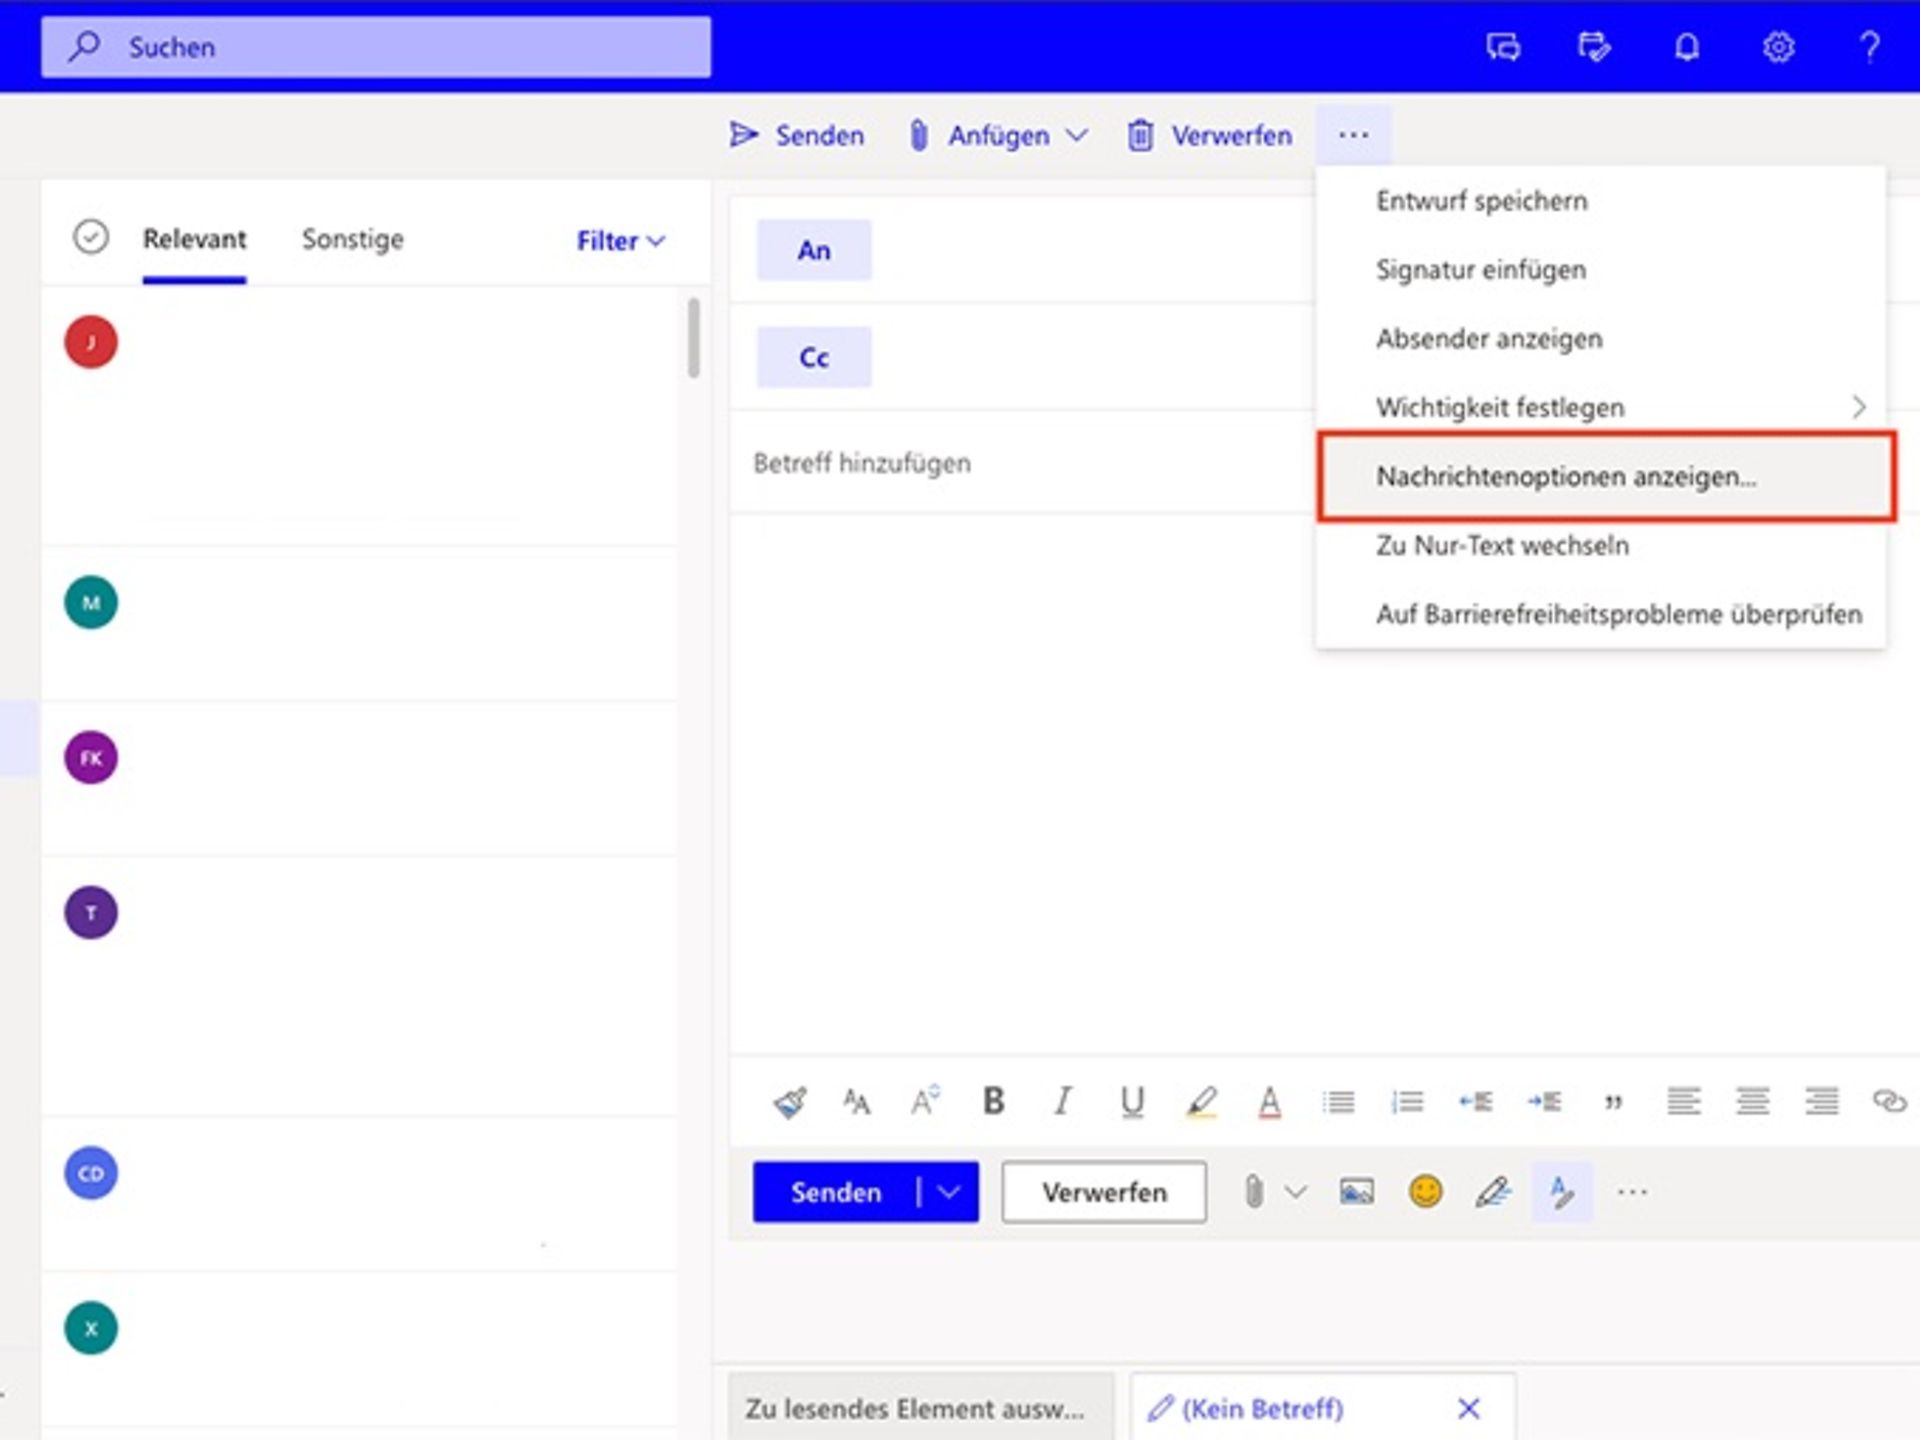
Sending emails is very easy with Microsoft Outlook and Exchange Online. Click on 'New Email' in the top left corner. Now you can decide whether you want to send an email to one of the groups you have created or to an existing contact.
Alternatively, you can enter a new email address for the recipient directly. If you want to set a read receipt or the importance of your email, click on the three dots "..." next to the "Discard" menu item. You will now be offered further configuration options for sending your email. Under the item "Message options", you can request a read receipt and a delivery receipt.

You can reach us by telephone at any time.
To send us an email, simply use our contact forms.
The chat service is available Monday to Friday from 8 a.m. to 8 p.m.
Our AI-based chatbot answers your questions 24/7.